English
 中文简体
中文简体 русский
 Español
What Are Woven Fusible Interlinings?
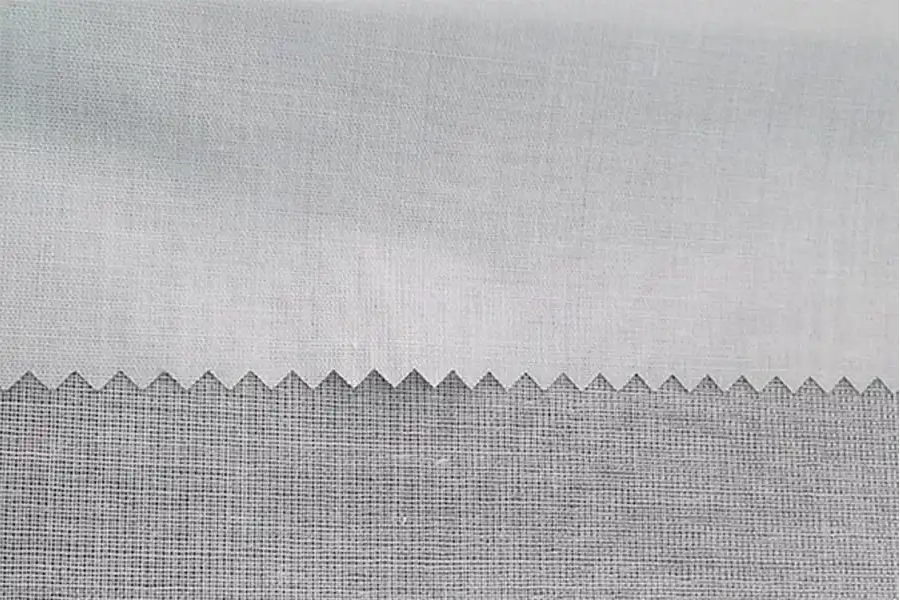
Woven fusible interlinings are specialized fabrics that have a heat-activated adhesive on one side, designed to stabilize and strengthen garments. They are commonly used in collars, cuffs, waistbands, and other areas that require extra support. Unlike non-woven interfacing, woven interlinings have a grain and behave similarly to the fabric they support, providing structure without significantly altering drape.
These interlinings are made by bonding fibers together in a woven pattern, which gives them durability and flexibility. When applied correctly, they can prevent stretching, wrinkling, and distortion during sewing and wearing. Choosing the correct weight of interfacing is crucial. Lightweight interlinings are suitable for delicate fabrics like silk or chiffon, while medium or heavy weights are ideal for fabrics such as wool, denim, or cotton blends. The wrong weight can cause problems such as puckering, stiffness, or bubbling.
Before applying fusible interfacing, it is highly recommended to pre-test on a scrap piece of the same fabric. This helps you understand how the fabric will react to heat, pressure, and adhesive. Some fabrics, especially synthetics or those with special finishes, may require adjustments in temperature or pressing technique. Additionally, always check the grainline of the interfacing relative to the fabric. Aligning the grain ensures that the fabric retains its intended shape and stretch characteristics after fusing. Misalignment can cause distortion or warping.
In summary, woven fusible interlinings are essential tools for garment construction, providing shape, support, and stability. Understanding their properties, weight, and proper application methods can significantly enhance sewing results and reduce common sewing issues.
Common Problems and Solutions
Problem 1: Interfacing Won’t Stick
If your interfacing fails to adhere to the fabric, this is usually caused by incorrect temperature, improper placement, or fabric preparation issues. Check the manufacturer’s recommended iron temperature, as too low a temperature may prevent the adhesive from activating. Additionally, make sure the adhesive side of the interfacing is facing the fabric. Using a pressing cloth helps prevent direct contact with the iron and protects delicate fabrics.
Fabric type also plays a significant role. Heavy, textured, or slippery fabrics may require extra time and pressure to fuse correctly. Prewashing and pressing the fabric is essential, as any sizing, starch, or wrinkles can interfere with adhesion. In cases where heat alone is not enough, a steam iron should be avoided, as moisture can weaken the adhesive. Instead, use firm, short presses in one spot, lifting the iron between presses rather than sliding it across the fabric.
Problem 2: Fabric Puckers or Bubbles
Puckering occurs when the interfacing does not lie flat against the fabric. Common causes include using an interfacing that is too heavy for the fabric or applying heat unevenly. Choose a lighter weight interfacing for delicate fabrics and ensure your pressing technique is correct. Pressing in short, firm intervals rather than sliding the iron prevents bubbles. Start pressing from the center and work outward to smooth trapped air pockets.
Another factor is fabric movement during pressing. Holding the fabric taut without stretching it is essential. If your fabric tends to pucker consistently, consider stabilizing it temporarily with pins or basting stitches before fusing. Proper trimming of interfacing edges also ensures that excess material does not cause folds or bubbles.
Problem 3: Interfacing Warps or Distorts Fabric
Fabric distortion can occur when the wrong interfacing is used, or heat causes shrinkage. Prewashing the fabric helps remove sizing and prevent unexpected shrinking. Additionally, fusible interfacing should ideally be applied along the fabric's straight grain to maintain stability. Applying interfacing to a bias-cut section can cause stretching and warping.
When applying fusible interfacing, cutting the piece slightly smaller than the fabric prevents stiffness at the edges and reduces distortion. If working with delicate or highly elastic fabrics, consider using sew-in interfacing instead. Proper alignment and avoiding excessive heat are key to maintaining the fabric's original shape.
Problem 4: Adhesive Stains on Fabric
Adhesive stains typically result from excessive heat or improper technique. To prevent this, always use a pressing cloth and adjust the iron temperature according to the fabric type. Avoid sliding the iron across the interfacing, as this can spread adhesive to unwanted areas. Excess interfacing extending beyond the fabric edges should be trimmed before fusing.
If adhesive accidentally transfers, a gentle scraping tool or warm ironing with a clean cloth can sometimes remove it. Testing on a scrap piece before full application is the best prevention. This ensures that you identify any potential adhesion or staining issues before working on the final garment.
Problem 5: Sewing Feels Hard or Stiff
Excessive stiffness usually comes from using interfacing that is too heavy or layering multiple interlinings in the same area. Choosing a weight appropriate for your fabric is critical. For details such as collars, cuffs, or facings, consider thinner interfacing to maintain flexibility. If stiffness occurs, pressing seams after sewing can help relax the fabric slightly.
Problem 6: Interfacing Separates After Sewing
Separation indicates insufficient heat, stretching of the fabric during sewing, or using an incompatible interfacing type. To solve this, ensure firm, even pressing during fusing. Avoid stretching the fabric while sewing, especially along edges or seams. For fabrics that are heat-sensitive or highly elastic, sew-in interfacing is often a better choice than fusible. Testing on scrap fabric allows you to verify adhesion strength before committing to the final garment.
Pro Tips for Success
Using fusible interfacing effectively requires understanding its properties and applying it carefully. Here are several professional tips:
- Always test first: Use a scrap of your fabric to understand heat, pressure, and adhesion.
- Use the right iron: A dry iron is usually best, avoiding steam which can weaken adhesive.
- Press, don’t slide: Pressing prevents bubbles and wrinkles.
- Trim edges: Cut interfacing slightly smaller than fabric pieces.
- Mind the grain: Align interfacing with fabric grain to prevent distortion.
Here is a quick reference table for troubleshooting common fusible interfacing problems:
| Problem | Possible Cause | Solution |
| Interfacing won’t stick | Iron too cool, wrong side facing fabric, fabric unprepared | Check temperature, place adhesive side correctly, prewash and press fabric |
| Fabric puckers | Interfacing too heavy, heat uneven, fabric moves | Use lighter weight, press firmly in short intervals, stabilize fabric |
| Fabric warps | Wrong grain, fabric shrinkage | Align with grain, prewash fabric, cut interfacing slightly smaller |
| Adhesive stains | Iron too hot, pressing cloth missing, edges overextended | Lower temperature, use pressing cloth, trim excess interfacing |
| Sewing stiff | Interfacing too thick, multiple layers | Choose correct weight, use thin interfacing for details |
| Interfacing separates | Not enough heat, fabric stretched, wrong interfacing type | Press firmly, avoid stretching, consider sew-in interfacing |